
I spent my first three winters guessing, and it cost me a bruised tailbone and one deeply embarrassing descent. My short answer on microspikes vs crampons for winter walking is blunt: microspikes cover roughly 95% of packed trails, icy staircases and low-angle snow, while crampons earn their keep only on steep, hard, consolidated ice where an ice axe is also riding in your pack. Everything else is nuance, and the nuance is where people get hurt. For the head-to-toe picture, my what to wear winter hiking guide covers it; here I’m staying narrow.
Table of Content
Which Traction Device Fits Your Winter Walk?
Start with the physical difference, because nearly every bad call on a winter trail traces back to ignoring it. Microspikes are short, springy and forgiving; crampons are long, rigid and unforgiving. One grips packed snow and glaze ice. The other penetrates hard ice. Pick the tool that matches the surface you’ll be standing on for hours, not the one photo you saw online.
What Microspikes Really Are
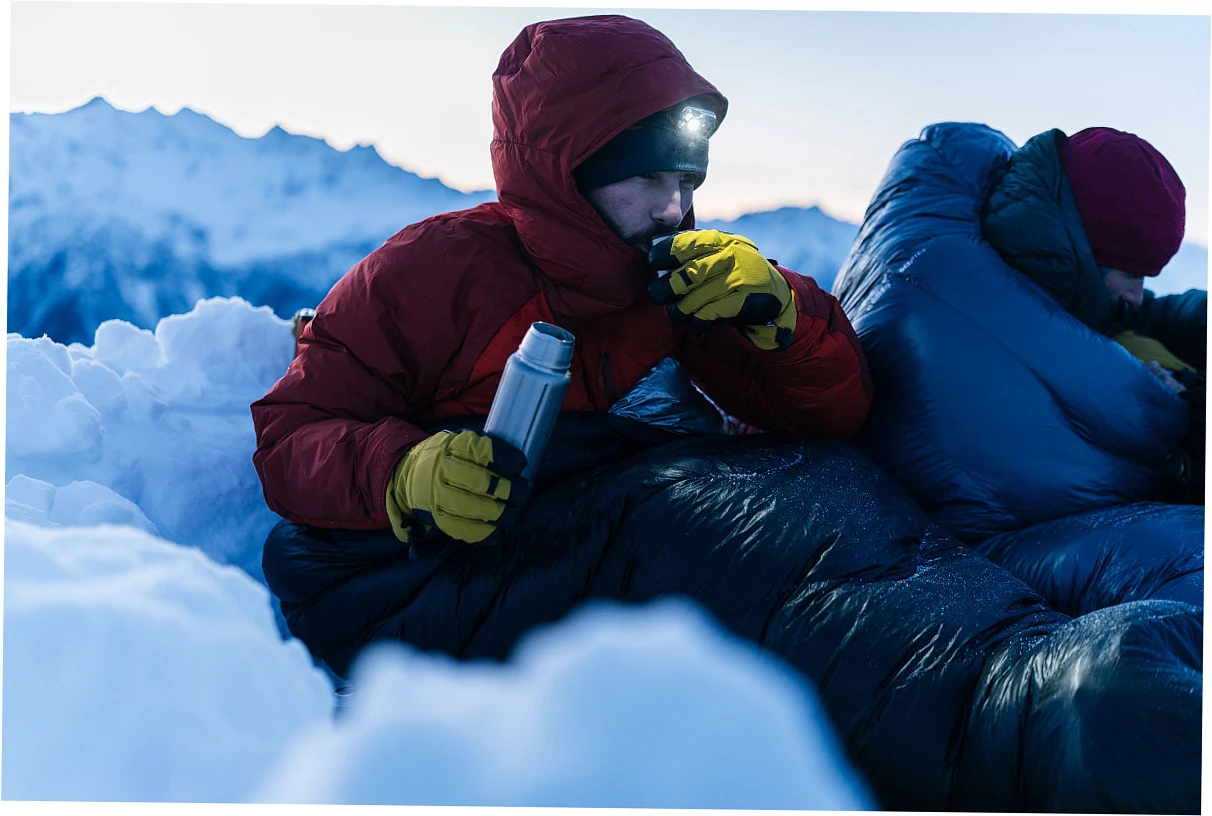
Microspikes are an elastomer harness carrying roughly 8 to 12 spikes, each about 8-10 mm (3/8 inch) long, angled mildly downward. Because the rubber stretches, they fit trail runners, flexible hiking boots and everything between without modification. They shine on packed snow, boilerplate ice on flat ground, and shaded trail sections that stayed frozen all day.
What they are not is mountaineering equipment. Those nubs are too short to bite hard water ice at a steep angle, and the rubber sling means you cannot kick them in the way you’d drive a front point into a slope. That single limit is the whole safety conversation in one sentence.
Where Crampons Change the Equation
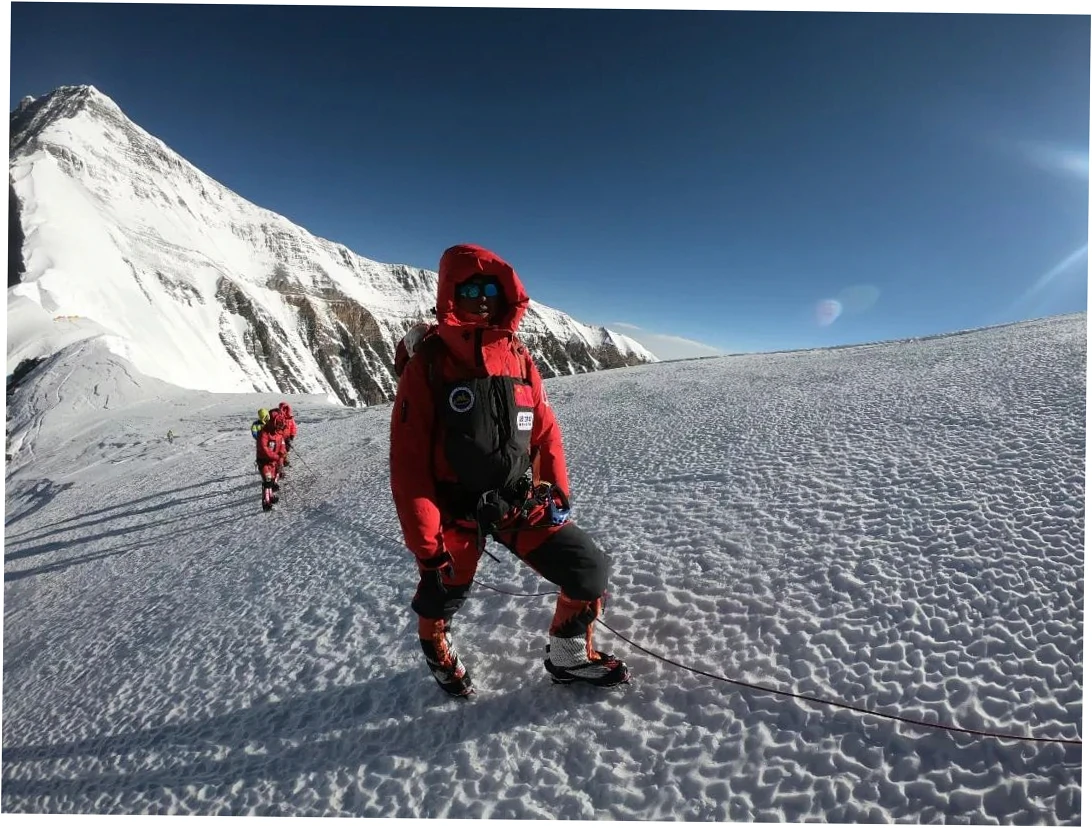
Crampons work on different physics: a rigid frame with 10 to 12 points, 20-30 mm long, including forward-facing front points built to be kicked into steep ice. Steel bites harder and survives rock better; aluminum is lighter but wears quickly on stone and suits snow and neve. Either way you need a boot stiff enough to push force through the frame.
That stiffness requirement explains why crampons feel terrible with soft shoes. On a bendy boot the frame rolls, points skate sideways, and you get the worst of both worlds: extra weight with less grip. Step-in bindings need heel and toe welts, while strap-on and hybrid models accept more boots but still want a semi-rigid sole.
The One-Line Rule That Covers Most Days
The oldest heuristic in winter travel still holds: hike with spikes, climb with crampons. Hands on trekking poles and feet on a trail almost always means microspikes are right. Hands on an ice axe, on a slope where a slip means a long slide, means crampons stop being optional.
I apply a second filter as well: if I’m strapping spikes on while the trail is still climbing steadily, I either have crampons in my pack or I turn around. That rule has kept me out of more trouble than any purchase, and it costs nothing to follow.
How to Compare Microspikes vs Crampons
Spike Length, Point Count and Penetration
Spike length decides almost everything. At roughly 8-10 mm, microspike points sit on top of hard ice and rely on friction plus surface texture. At 20-30 mm, crampon points penetrate first and then hold mechanically, which is why they work on steep water ice and short nubs simply do not. Point count matters far less than length.
Penetration also depends on how much force you can deliver. A stiff boot plus a 25 mm point concentrates body weight into a tiny area. A running shoe plus a 9 mm nub spreads that weight across rubber: stable and comfortable, far less aggressive once the surface turns genuinely hard.
Fit, Flex and Footwear Compatibility
Microspikes fit essentially any shoe, which is their superpower for casual winter walking and their weakness on technical ground. Crampons demand a boot with a stiff shank and, for step-in models, a heel welt. Settle your winter hiking boots before buying traction, because footwear dictates which crampon bindings are even compatible with you.

Reading the Numbers Honestly
Weights and prices vary by size, model year and retailer, so treat any table as a range rather than gospel. The figures below come from published specs and my own kitchen scale, accurate to roughly plus or minus 10%. Use them to compare categories, then confirm current numbers before you order anything.
| Feature | Microspikes | Crampons |
|---|---|---|
| Typical point length | 8-10 mm (about 3/8 in) | 20-30 mm (about 3/4-1.2 in) |
| Point count | 8-12 short spikes | 10-12 points, often with front points |
| Binding style | Elastomer harness, no tools | Strap-on, hybrid or step-in (welts needed) |
| Compatible footwear | Nearly any flexible shoe or boot | Stiff-soled boots; step-in needs heel and toe welts |
| Best surface | Packed snow, glaze ice, low-angle terrain | Hard ice, steep neve, mixed alpine ground |
| Walking comfort | Near-normal stride | Flat-footed technique, noticeably different |
| Typical pair weight | Roughly 300-420 g | Roughly 500-1,100 g depending on material |
| Typical price | $50-$90 | $150-$300 and up |
When Microspikes Beat Crampons Outright
Packed Trails, Stairs and Boilerplate Ice
Established winter trails, groomed paths, staircase ice and shaded fire roads are microspike territory. The surface is usually packed snow or a thin glaze over rock, exactly what short spikes handle well. You keep a natural stride, your feet stay light, and you can walk for hours without thinking about traction. Crampons here are simply overkill.
Long Approaches and Fast Hiking
Distance pushes the decision toward microspikes. Every extra gram and every degree of lost foot flex compounds over 15 kilometres. Big-mileage hikers consistently report that crampons wreck their rhythm: you cannot roll through a stride normally, and pant cuffs take a beating until your technique settles. Microspikes keep the pace efficient and boring, which is a compliment.
Deeper Snow Changes the Answer
Once you’re sinking past ankle depth in soft snow, neither option helps much and the question becomes flotation. When flotation matters more than bite, the snowshoes vs microspikes question takes over: integrated teeth handle icy patches while the deck stops you postholing to your knees. Bring flotation when the forecast promises real accumulation, not just a refrozen crust.
| Condition | Best pick | Why it works | Trade-off |
|---|---|---|---|
| Groomed trail with patchy ice | Microspikes | Short spikes bite glaze ice, stride stays natural | No hold once the ice steepens |
| Flat boilerplate ice | Microspikes | Light, comfortable, cheap to replace | Skids as soon as the angle increases |
| Hard ice at 25-40 degrees | Crampons | Points penetrate and hold mechanically | Awkward on rock and pavement |
| Steep snow with an ice axe | Crampons | Front points kick steps securely | Requires stiff boots |
| Fresh snow deeper than 20 cm | Snowshoes | Flotation plus integrated traction teeth | Slower and bulkier on firm trails |
| Mixed rock and ice scrambling | Trail crampons or aluminum crampons | Middle ground between the two extremes | Steel dulls on rock, aluminum wears faster |
| Packed snow trail running | Microspikes | Low weight, fits running shoes | Unreliable above treeline |
What Winter Walkers Get Wrong About Crampons
The Above-Treeline Confidence Trap
The most common mistake isn’t buying the wrong gear, it’s assuming microspikes will hold where they won’t. Above treeline, wind-polished ice can be hard enough that 9 mm nubs barely scratch it, and a rubber harness cannot be driven in with a firm kick. People have slid into ravines in exactly those conditions. When in doubt, carry crampons or stay lower.
Walking Technique, Gait and Shredded Cuffs
Crampons demand a flat-footed, deliberate gait: no heel strike, no rolling through the step, and no points on bare rock if you care about keeping edges sharp. New users typically shred a cuff or two, catch a point on the opposite calf and feel oddly clumsy for the first hour. Microspikes feel close to normal shoes from the first step.
Which Marketing Claims Survive Real Use
Manufacturer copy and trail reality don’t always match, so here’s the honest split between what’s advertised and what long-term users report after a few seasons. The pattern is remarkably consistent: microspikes get used constantly, crampons get carried a lot, and most regular winter walkers end up owning more than one system.
| Claim | Official line | Real-world experience |
|---|---|---|
| Microspikes suit most winter trails | Marketed for packed snow and icy paths | Broadly confirmed: users describe them as sufficient for around 95% of established trails |
| Crampons are the natural upgrade | Positioned as the next step in traction | Mixed: many find them unpleasant to hike in and keep them for steep or consistently slick terrain |
| The weight difference is minor | Aluminum crampons sold as lightweight | Fair for aluminum, less so for steel over long distances |
| One pair is enough | Framed as budget-friendly advice | Frequent winter hikers usually end up with spikes, crampons and snowshoes |
| Spikes deliver security on ice | Implies confidence on icy ground | Limits appear above treeline on wind-polished ice; false confidence is a recurring warning |
Note the disagreement in the middle of that table, because it matters. Some experienced hikers argue microspikes offer only a marginal friction gain and can breed false confidence on hard ice; others argue crampons are so awkward to walk in that they create their own hazard through fatigue and sloppy footwork. Both critiques are correct in their own terrain. Match the tool to the slope you’re actually on.
How to Field-Test Traction Before You Commit
The Kick Test and the Snowball Check
Test on real terrain, not a shop floor. Find shaded hard ice and take three deliberate steps: if your points skid instead of catching, you need more bite than short spikes offer. Then walk ten minutes in wet snow and check underneath, because crampons without anti-bot plates pack up quickly, and balled-up snow grips worse than bare metal.
Building a Two-Device Winter Quiver
If you walk in winter more than a handful of times per season, plan to own microspikes plus one alternative rather than choosing forever. Rent or borrow crampons for a single icy objective before buying, and check whether your boots accept step-in bindings, since that one detail decides which models are even on your shortlist.
Budget honestly as well: microspikes generally run $50-$90, aluminum crampons $150-$250, and steel versions more. Accept the uncertainty too. Weights shift with size and model year by roughly 10%, and trail conditions change faster than any spec sheet, so verify before a serious objective.
Microspikes vs Crampons for Winter Walking: FAQ
Can I wear microspikes on a sidewalk or driveway?
You can, but you’ll blunt the points quickly. Metal edges wear against concrete and asphalt, and the grip benefit is small on flat pavement. Save spiked traction for snow and ice on trails, and treat mixed pavement-and-ice walks as a compromise where your points dull over a season or two.
Are crampons overkill for a normal winter hiking trail?
Usually yes. On packed, rolling trails microspikes are lighter, cheaper and far more comfortable, while crampons add weight and an awkward gait. Crampons make sense when a route includes sustained steep ice, hard consolidated neve, or a slope where you’d also want an ice axe on your pack.
Do microspikes hold on steep icy slopes?
Not reliably. Short nubs on a flexible harness can’t penetrate wind-polished ice on steep ground, and you can’t kick them in for real purchase. If the slope is steep enough that a slip would be serious, switch to crampons or choose a different route. That’s the scenario where the cheap option quietly becomes the risky one.
How do I know when to switch from microspikes to crampons?
Watch three signals: the ice rings under your pole instead of denting, your spikes skid on a deliberate test step, and the trail keeps climbing without easing. Any two of those mean it’s time for crampons or a turnaround. Carry crampons once you’re ascending consistently, even if the day starts in spikes.
Are aluminum crampons worth it compared with steel?
For snow and firm neve, yes. Aluminum saves meaningful weight and modern designs hold well on winter walk-ups. Steel is better if your route mixes rock, scree or many icy seasons, because aluminum points wear faster and lose their bite. Choose by the surface you expect, not by price alone.
What should a beginner buy first?
Microspikes first, plus trekking poles and gaiters. That combination covers most established winter trails and costs far less than a full mountaineering setup. Add crampons only when your objectives include steep, hard ice, and add snowshoes when you expect deep, unconsolidated snow rather than packed paths.
Do I need snowshoes as well as spikes?
If you stick to trails that get groomed or heavily packed, no. If you head into untracked snow deeper than about 20 cm, yes, because flotation solves a problem spikes cannot. Many winter hikers eventually own microspikes, snowshoes and crampons, using each one for a different stretch of the season.
Leave a Reply