
The single most useful answer to how to avoid overheating while winter hiking is embarrassingly simple: start colder than feels sensible, and strip a layer before you break a sweat, not after. I learned that on a January climb where I left the trailhead in a puffy, a fleece and a wool tee, was soaked by the first switchback, and shivered through the whole descent in my own damp shirt. These days I spend ten minutes feeling chilly and stay dry for six hours. Everything below is the system I use to keep my core temperature stable and my base layer dry. The wider clothing framework lives in this what to wear winter hiking guide, while this piece digs into heat management alone.
Table of Content
Why Do Winter Hikers Overheat So Easily?
Your Body Makes More Heat Than You Think
Metabolic heat is the whole story: climbing with a pack can generate ten to twenty times the heat your body produces while sitting still, and inside a sealed jacket that heat has nowhere to go. Your shell traps it, your midlayer insulates it, and within twenty minutes you are sweating through fabric designed to pull moisture away from your skin. That is why a layering system that feels perfect on a flat walk collapses on a climb.
Sweat Is the Real Enemy, Not the Cold
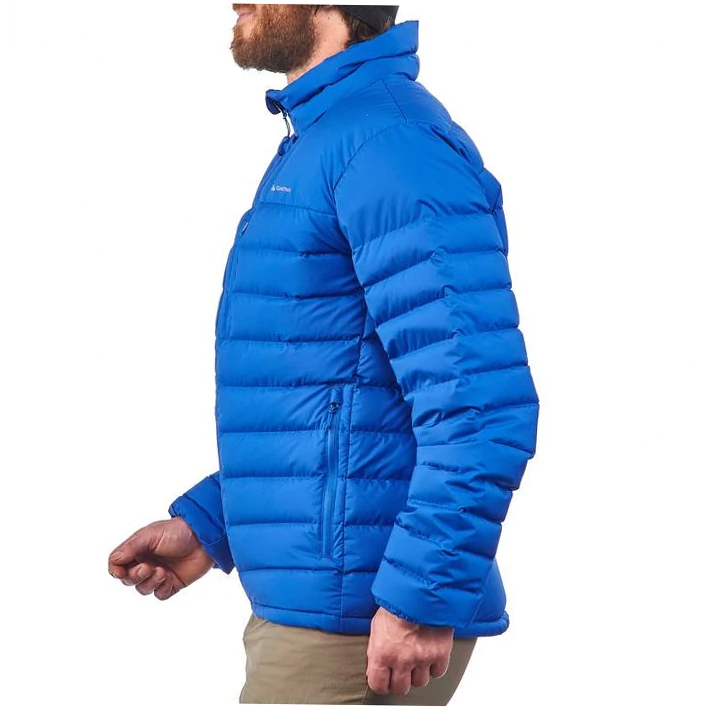
Wet insulation stops insulating: damp down loses most of its loft, and soaked synthetics conduct heat away from your skin far faster than dry ones. The dangerous moment is rarely the sweating itself; it is what happens when you stop for a snack, the wind picks up, and your damp base layer turns into a personal refrigeration unit. Staying dry on the move is a safety strategy, not a comfort preference.

Why Start Cold Actually Works
Starting deliberately cold is the piece most people resist and later swear by. Leave the trailhead feeling slightly underdressed, because your body adds heat within ten or fifteen minutes of walking. Almost nobody nails this on the first attempt — it takes a few trips to find your personal sweat threshold, and erring on the chilly side beats starting warm and spending the rest of the day damp.
How to Layer So You Never Overheat
Base Layers That Move Sweat Away
Synthetic or merino base layers should fit snugly against the skin: cotton holds water and chills you the second you slow down, while polyester and fine wool pull moisture outward where it can evaporate. Keep the base layer on all day as the one piece you never remove, and treat everything above it as adjustable. Tight-fitting polyester is the workhorse; merino is the softer, less pungent option.
Midlayers You Can Strip in Seconds
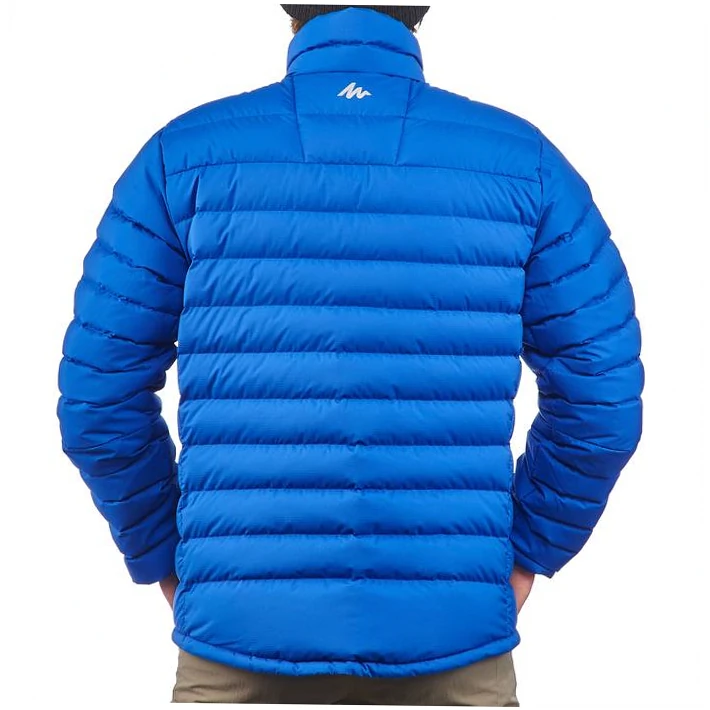
Midlayers need to come off without a long production: a fleece or light synthetic vest keeps your core warm while bare arms dump excess heat, which is why so many winter hikers move in a vest and stand around in a full jacket. Zip-neck fleeces let you release warmth gradually instead of in one uncomfortable blast halfway up a slope.
Shells, Rain and Wet Snow
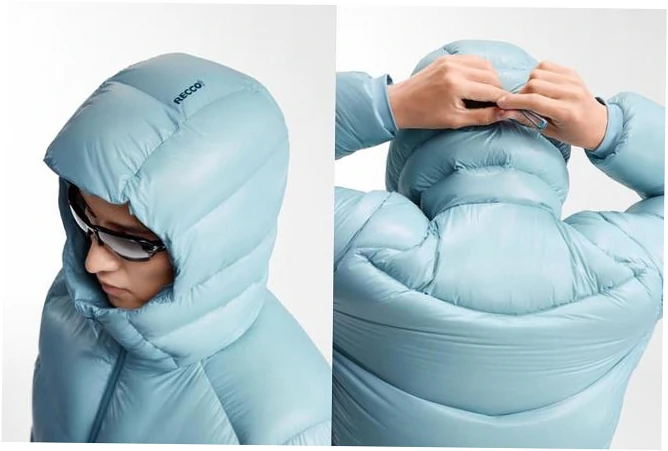
Shell choice matters most when precipitation turns wet, because rain-soaked snow is where heat management and waterproofing collide head-on. A breathable hardshell with pit zips vents steam while keeping sleet out, and the gap between marketing claims and trail reality is widest in exactly those conditions, so the compromises baked into outerwear for freezing rain and snow are worth understanding before you trust any jacket to breathe at pace.
| Layer | Its job | Take it off when | Keep it on when |
|---|---|---|---|
| Base layer | Moves sweat off skin | Never while you are moving | Always — it is your dry-out layer |
| Fleece or vest | Core warmth | The back of your neck feels warm | Cold wind or a long standing break |
| Insulated puffy | Static warmth | Before the first climb starts | Rest stops and summits |
| Hardshell | Blocks wind and wet | Sweat beads on the inside | Driving sleet or strong wind |
| Hat or headband | Head and ear warmth | Your hairline feels damp | Exposed ridge lines and descents |
Best Ways to Dump Heat While Climbing
Zips, Pit Vents and Cuffs
Open zippers early and often: a fully unzipped shell over a midlayer acts like an air conditioner, pushing warm damp air out of the front while cool air enters at the hem. Pit zips, mesh-backed pockets and rolled cuffs do the same job more precisely. Once sweat starts beading on the inside of your shell, you have waited too long — open everything and ease off for five minutes.
Pace Control Beats Layer Control
Slowing down is a legitimate tool rather than a sign of weakness: trimming your pace by ten percent often keeps output below the sweating threshold, and that matters most in the first steep twenty minutes of a climb. Shortening your stride on switchbacks helps too, and a two-minute standing rest cools you without dropping your core temperature the way a long sit-down does.
Which Strategy Fits Your Body?
There is no single correct system, because sweat rates vary enormously between individuals: some hikers soak a t-shirt on a flat mile while others finish a climb dry. Build your setup around where you sit on that spectrum instead of copying someone else’s kit list. Wind, humidity, altitude and how fit you feel on the day all shift the answer, so expect to adjust between seasons rather than settle on one fixed arrangement.
| Advice you hear | Why it sounds sensible | What really happens | What works better |
|---|---|---|---|
| Start cold | Prevents early sweating | Heavy sweaters still sweat on the first climb | Start cold and open your vents immediately |
| Wear a thick hat because heat escapes your head | Keeps ears warm | The scalp sweats first and the hat soaks through | A thin headband that covers the ears only |
| Sweat is unavoidable, so ignore it | Feels realistic after a few seasons | Damp layers chill you hard at every stop | Manage moisture with wicking layers and short breaks |
| Add layers until you feel warm | Feels safe at the trailhead | Overheating and wet-out within twenty minutes | Dress for ten minutes into the hike |
| Drink less so you stop less | Fewer breaks to manage | Dehydration worsens cramping and temperature control | Carry fluids and drink on a schedule |
| Situation | Biggest risk | While moving | At the break |
|---|---|---|---|
| Profuse sweater on a day hike | Wet-out followed by chills | Base layer plus an open shell | Dry fleece on within a minute |
| Hiker who runs cold | Chilling on descents | Light fleece with vents open | Puffy plus hat and gloves |
| Steep climb to a cold summit | Sweat first, freeze later | Strip to base layer, gloves on | Swap to a dry layer, add the puffy |
| Rolling terrain, steady effort | Slow steady dampness | Light midlayer, puffy in the pack | Shell stays on, sip fluids |
| Group hike at a slow pace | Stop-start cooling | Shed layers before each stop | Insulated jacket at every stop |
What Mistakes Leave You Soaked and Freezing?
Overdressing at the Trailhead
Dressing for the parking lot is the classic error: it feels cold standing still, so people add a puffy, overheat four hundred feet up the trail, and stay damp for the rest of the day. Dress for ten minutes into the hike instead. Shivering beside the car is normal — the jacket goes into the pack the moment you start walking and comes out at the first real rest.
Long Stops in Wet Clothes
Wet fabric plus a long stationary break is how people end up dangerously cold: your body stops producing heat, wind strips warmth from damp layers, and a twenty-minute lunch turns into shivering. Keep stops short, add insulation immediately and sit out of the wind. If you are already soaked, eating while walking and capping breaks at five minutes is genuinely safer than a leisurely sit-down at a summit cairn.
Ignoring Fluids and Salts
Dehydration creeps up on winter hikers because you never feel thirsty and your bottle freezes: dry air, hard breathing and heavy sweating all drain you, and cramping calves, a headache or dark urine are often the first warning. Carry an insulated bottle, drink on a schedule rather than by thirst, and take electrolytes on long efforts. That is a comfort detail on a two-hour walk and a safety issue above treeline.
| Mistake | Why it happens | Immediate fix | Habit to build |
|---|---|---|---|
| Leaving the car overdressed | Standing still feels cold | Stop and strip before the first climb | Dress for ten minutes of walking |
| Sweating through the first hour | Pace too high, vents shut | Open everything, slow down | Start climbs slower than feels natural |
| Sitting still in a damp base layer | Long lunch in the wind | Add insulation and move into shelter | Keep breaks under five minutes |
| Soaked scalp under a thick hat | The head traps heat fast | Swap to a thin headband | Check your hairline before each climb |
| Running dry because the bottle froze | No insulation and no drinking plan | Drink at every stop | Insulated bottle plus electrolytes |
Dial In Your Own Winter Thermostat
Practice Runs and Small Adjustments
Treat your first few winter hikes as experiments: note the temperature, what you wore, and when you first felt damp, then change one variable at a time on the next outing. Most people dial in a working system within three or four trips. A short note like minus eight, base layer plus vest, sweating at thirty minutes tells you more than any generic chart once you have your own numbers.
Build a Pack That Accepts Shed Layers
Carry a pack big enough to swallow whatever you take off: a thirty-litre daypack handles a puffy, a shell, spare gloves, a hat and a dry shirt, which means you can add layers at a break without digging through everything. Strap the outermost layer outside when you strip mid-climb, and keep a dry shirt near the top so you can change the moment you reach the car.
Stay honest about the conditions you are walking into: wind, wet snow, altitude and serious cold all raise the stakes, and no layering system makes a poor decision safe. Check the forecast, leave your route with someone, and turn around when the weather moves in. If a medical condition affects how you sweat or regulate temperature, talk to a doctor before long winter outings, because general advice only stretches so far.
Overheating on Winter Hikes: Your Questions Answered
Can you avoid sweating completely on a winter hike?
Realistically, no — almost everyone sweats a little on a sustained climb, so aiming for perfectly dry is unrealistic. The goal is keeping sweat out of your insulation: start cold, vent early, strip before you feel warm, and let wicking base layers move moisture away from your skin. Finishing a climb slightly damp rather than soaked means you got it right, and a dry spare shirt at the car covers the rest.
How cold should you feel when you start a winter hike?
Slightly uncomfortable is the target: cool enough that you want your jacket, but not shivering hard or losing feeling in your fingers. Give it ten to fifteen minutes of steady walking before you judge the decision. Still cold after that? Add a thin layer. Already sweating? You started with too much on, so stop and shed before the damp spreads.
Why is your back soaked even when your jacket has vents?
Because your pack blocks the vents, and there is almost no airflow across your back while you carry a load. Chest and pit zips dump heat from the front, but sweat still accumulates underneath the pack. Unzip the shell at every break, choose a pack with a breathable or suspended back panel, and change your base layer at the car instead of sitting in a wet shirt for the drive home.
Is merino better than polyester for sweaty winter hikers?
It depends on how much you sweat and how you feel about laundry. Merino manages odour far better over multi-day trips and feels softer against the skin, but it dries more slowly and costs considerably more. Polyester dries fast and moves moisture aggressively, which suits heavy sweaters on long climbs. Many hikers use polyester for high-output days and merino for cold, slower outings.
What should you do if you are already soaked halfway up?
Deal with it immediately: stop in a sheltered spot, wring out or swap the wet base layer, add a dry insulating layer, and keep the remaining climb short on breaks. If you have a dry shirt, change into it and keep moving to stay warm. If you have no dry layer and you are getting cold rather than warm, turning around is the sensible call, not a failure.
Do you really need electrolytes on a winter hike?
For short walks, water is fine. For anything over two or three hours with real climbing, salty snacks or an electrolyte drink help, because you lose salts through sweat and through heavy breathing in dry air. Cramping, a dull headache or unusual fatigue on a cold day often points to hydration and salt rather than fitness. Pack a bottle that will not freeze and sip often.
How many layers do you need at around 20 Fahrenheit?
There is no universal number, but a common moving setup near minus seven Celsius is a snug base layer, a light fleece or vest, and a shell you can open, plus gloves and a thin headband. A puffy stays in the pack for stops. Wind, humidity, pace and your own sweat rate will move that answer, so treat it as a starting point and adjust on the first mile.
Leave a Reply